
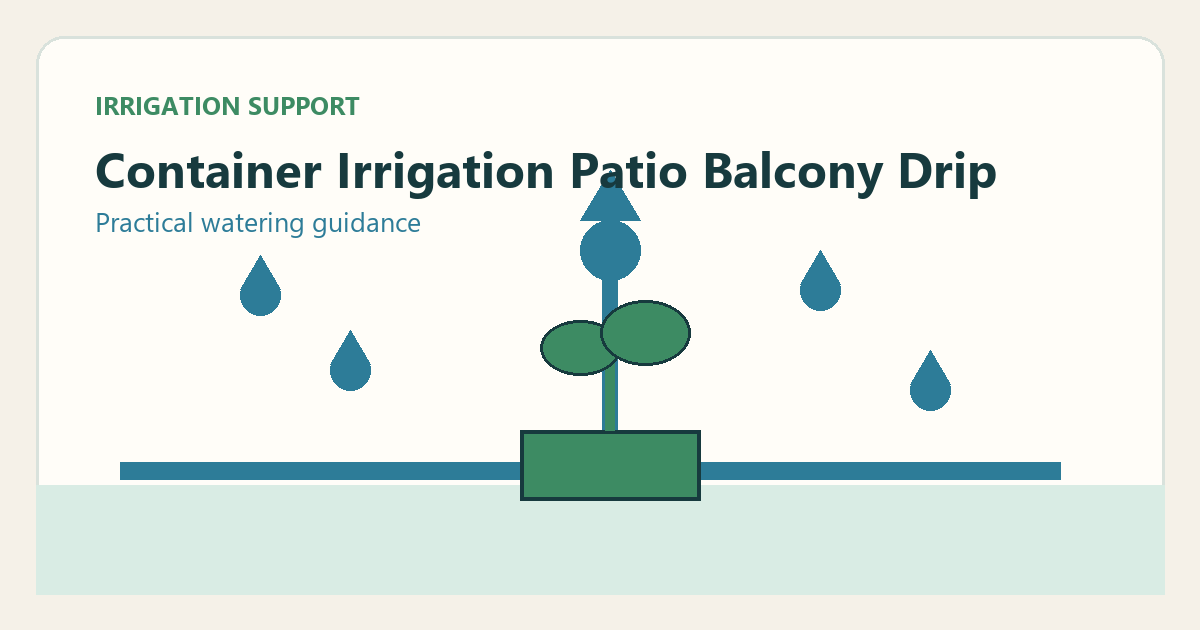
Container plants dry out faster than the same plants in garden soil because their root zone is small, exposed on every side, and often heated by concrete or walls. A drip layout can make watering consistent, but on a patio or balcony it must also control drainage, weight, and the risk of a loose connection spilling water where it does not belong.
<h2>Start with the containers and their drainage
Choose containers with drainage holes and saucers or trays sized for the expected runoff. A drip system should moisten the potting mix, not keep the bottom of the container standing in water.
Check the surface below the containers before adding a timer. On a balcony, confirm building rules for water discharge and weight. On a patio, keep runoff away from doors, foundations, electrical outlets, and walking paths.
Group containers by plant type, pot size, sun exposure, and watering need. A shallow herb pot in afternoon sun cannot share the same schedule as a large shaded citrus container, even if both use the same tubing.
Use a low-pressure drip layout
For a hose-fed setup, use this order: backflow protection, filter, pressure regulator, 1/2-inch supply tubing, 1/4-inch distribution tubing, then emitters. The filter protects small emitter passages, while the regulator keeps a household supply from forcing fittings apart.
Use 1/2-inch tubing as the main run along the wall, railing, or back of the containers. Branch to each pot with 1/4-inch tubing. Secure the main run with clips or stakes so it cannot become a trip hazard or pull on a hose-bib connection.
For most patio layouts, place one adjustable emitter or two small fixed-flow emitters in each pot. Two emitters give more even coverage in wide containers and reduce the chance that water channels down one side of the root ball.
Container type Starting emitter layout What to verify
Small herb pot, 6–10 inches One low-flow emitter Mix is moist but not draining through immediately Standard vegetable pot, 12–16 inches Two 0.5-GPH emitters Moisture reaches both sides of the root zone Large tomato or citrus container Two to four emitters around the edge Water penetrates deeply without pooling at the trunk Window box 1/4-inch drip line or closely spaced emitters End plants receive the same moisture as the center
Match runtime to the potting mix
Potting mix drains differently from native soil. Start with a short cycle, then check moisture 2 to 3 inches below the surface 30 minutes later. Increase duration only if the lower root zone remains dry.
In hot, windy weather, a container may need a daily check even when a timer is installed. The right schedule changes with plant size, shade, rainfall, mulch, and the material of the pot; unglazed clay loses moisture faster than plastic or glazed ceramic.
Avoid running a single long cycle when water begins to drain before the mix is fully wet. Use cycle-and-soak instead: run a short cycle, wait 20 to 30 minutes, then run a second cycle. This gives dry potting mix time to absorb water rather than sending it through the drain holes.
Install a timer only after testing by hand
Run the system manually with every end cap and emitter in place. Walk the layout and look for drips at the hose connection, regulator, barbed fittings, and tubing ends.
Make sure each emitter is aimed into the pot rather than at a railing, wall, or tray edge. A tiny miss can wet a neighbor’s balcony or create algae on a walkway over time.
Once the layout is dry at every connection, use a timer with at least multiple start times per day. This makes it possible to use short cycle-and-soak sessions for fast-draining containers without manual watering.
Prevent common patio and balcony failures
Do not run tubing across a doorway, stair, or evacuation path. Route it behind containers, under a removable cover, or along the edge of the balcony where it can be inspected.
Use a pressure regulator rated for drip irrigation. Faucet pressure can exceed what 1/4-inch tubing and barbed fittings can handle, especially when a hose valve is opened quickly.
Flush the mainline before installing emitters, then check filters monthly during the growing season. Mineral sediment and algae can clog one pot while the rest of the layout appears to work normally.
At the end of the season, disconnect the timer and regulator before freezing weather. Drain the tubing, remove loose emitters, and label any zones that serve different groups of containers so the layout can be restarted without guesswork next spring.
Quick setup checklist</h2>
Use this short checklist to verify the decision in the order that prevents the most common rework.
- Confirm drainage, runoff rules, and safe container weight.
- Group containers by water need rather than by where they happen to sit.
- Install filter and pressure regulation before any small tubing or emitters.
- Test a short manual run and inspect every connection before programming a timer.
- Use cycle-and-soak when water drains from a pot before the root zone is moist.